 Flat Pack Mates
Flat pack furniture assembly in Gants Hill IG2
We assemble modular wardrobes and other flat pack furniture in Gants Hill. Send the planner drawing as well as the order so the fitter can see what belongs in each bay.
Postcode districts IG2
- Modular wardrobes and bedroom storage
- Plan rails, shelves and drawers by bay
- IG2 quotes by full postcode
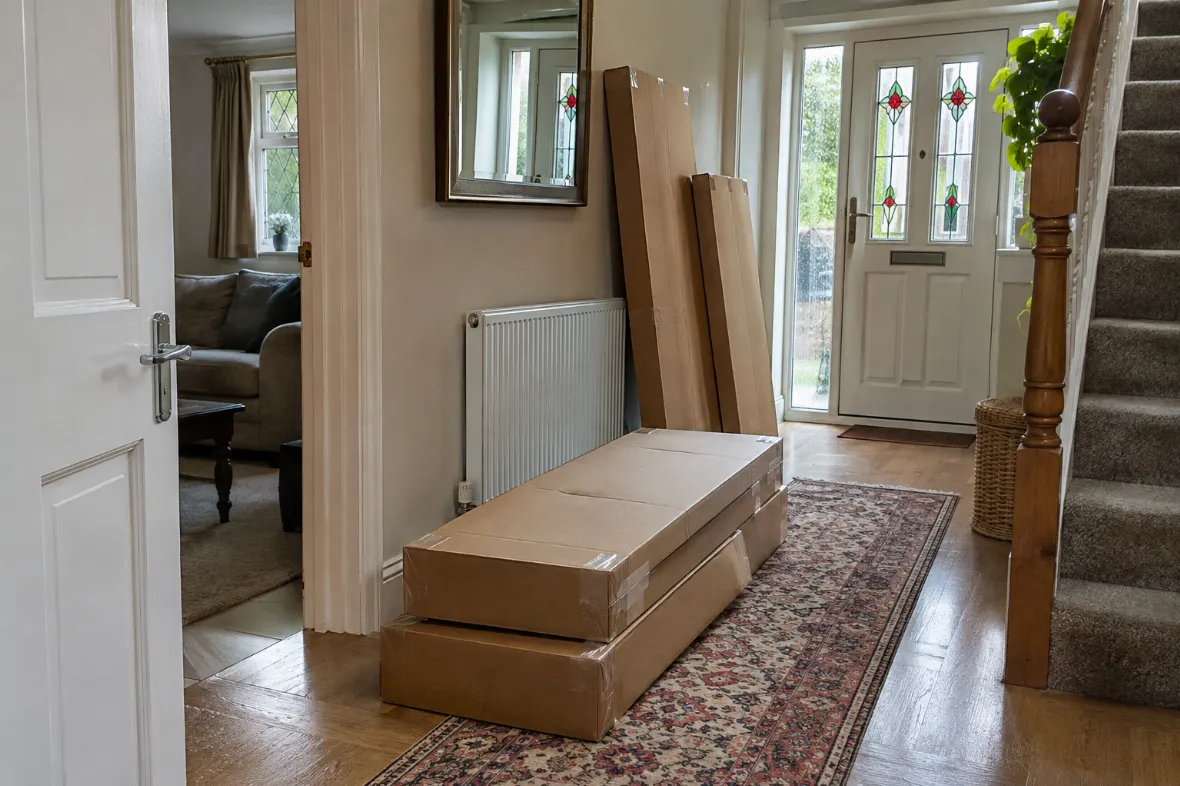
Can you assemble a modular wardrobe in Gants Hill IG2?
Yes. Send your full IG2 postcode, the frame dimensions, the doors and your planned interior for each bay. Include both the planner drawing and the order list. Tell us if the ceiling is low or the boxes are still on a different floor.
Should I send the wardrobe planner or my order confirmation?
Send both if you have them. The planner shows where you want the doors, drawers and rails. The order shows the model references and what should have arrived. Let us know about any difference between the two, including accessories you ordered separately or changed after planning.
How we quote for a fitted-out wardrobe frame
Send the number and model of the frames, doors and interior fittings. A bare frame and one with several rails, drawers and sliding doors involve different work. Tell us where the boxes are, whether the route has stairs and whether the frame needs securing to the wall. If the order is still incomplete, let us know what is missing before choosing a visit date.
See assembly prices and IKEA furniture assembly. If you need the cartons brought to the property, ask about collection and delivery.
Give us the layout and the product list
A planner drawing shows where the rails, doors and drawers should go. The order confirmation shows what the retailer actually supplied. Send both, especially if you changed the layout after drawing it. Look for any difference between the two versions and say which arrangement you want. If the frame has several similar bays, label them from left to right as seen while standing in front of it.
For each bay, note the frame width and depth as well as its height. Keep shelves and drawers in the cartons that match those dimensions. A full-depth insert can look similar to a shallow one in the packaging. Use the product numbers to match them. If you are putting new parts into an existing frame, send its model as well and tell us when you bought it if you know.
Check that the delivered list includes the rails, door hinges, runners and any special brackets shown in the plan. Accessories may arrive later even if the main frames came together. Keep the labels visible and tell us which parts have yet to arrive. If you need a usable wardrobe before the order is complete, ask what can be built first without getting in the way of later work.
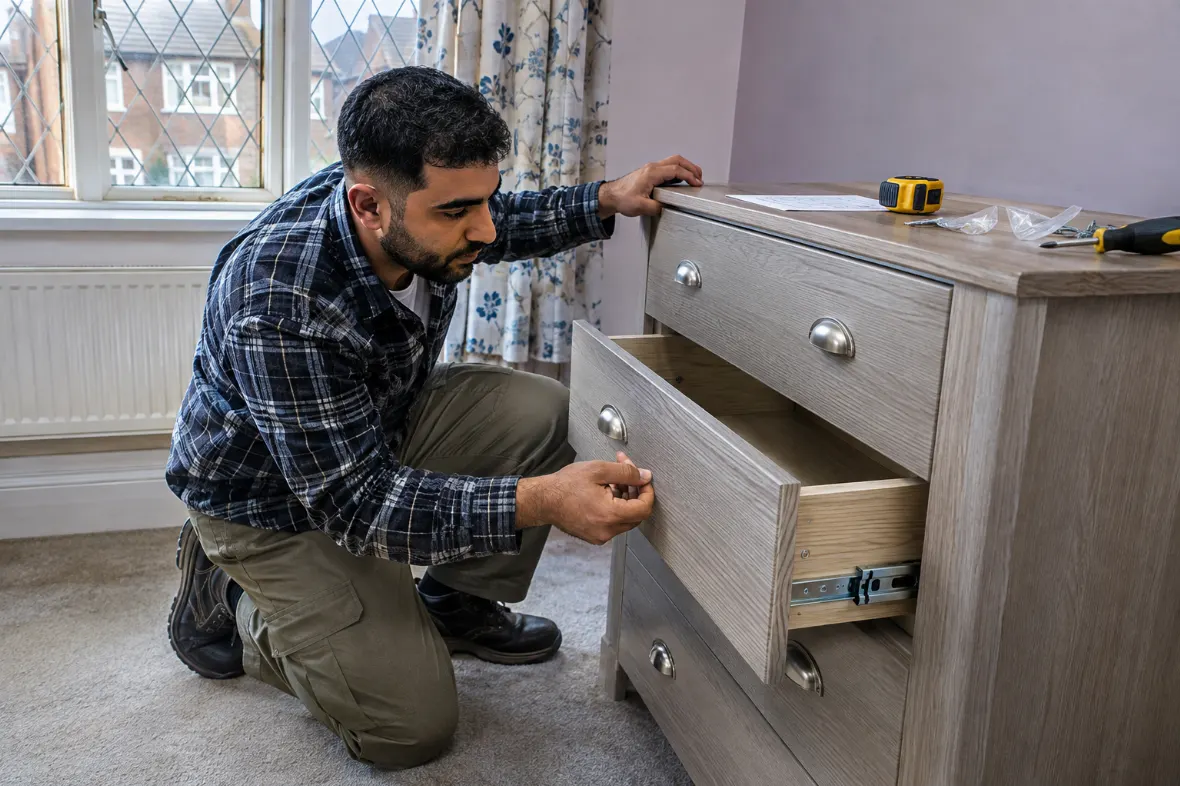
Decide which changes you might want later
Keep one bay flexible if your storage changes over the year
If you swap winter clothes and lighter things between rooms, decide which shelves need to be adjustable. Check how many shelf positions the frame allows before you choose an insert that occupies the whole bay. Ask the fitter to show where spare supports are kept and how to identify the current shelf heights. Save the planner with a note of any positions agreed during the appointment.
Match the layout on the screen to the room you see
Print or open the planner while standing where you will use the wardrobe. Make sure the left and right sides match your view of the room. Show the fitter any drawer that needs to open near a bed or dressing table. If a different unit has moved into the room since you made the plan, check the new clearance before the wardrobe takes its final position.
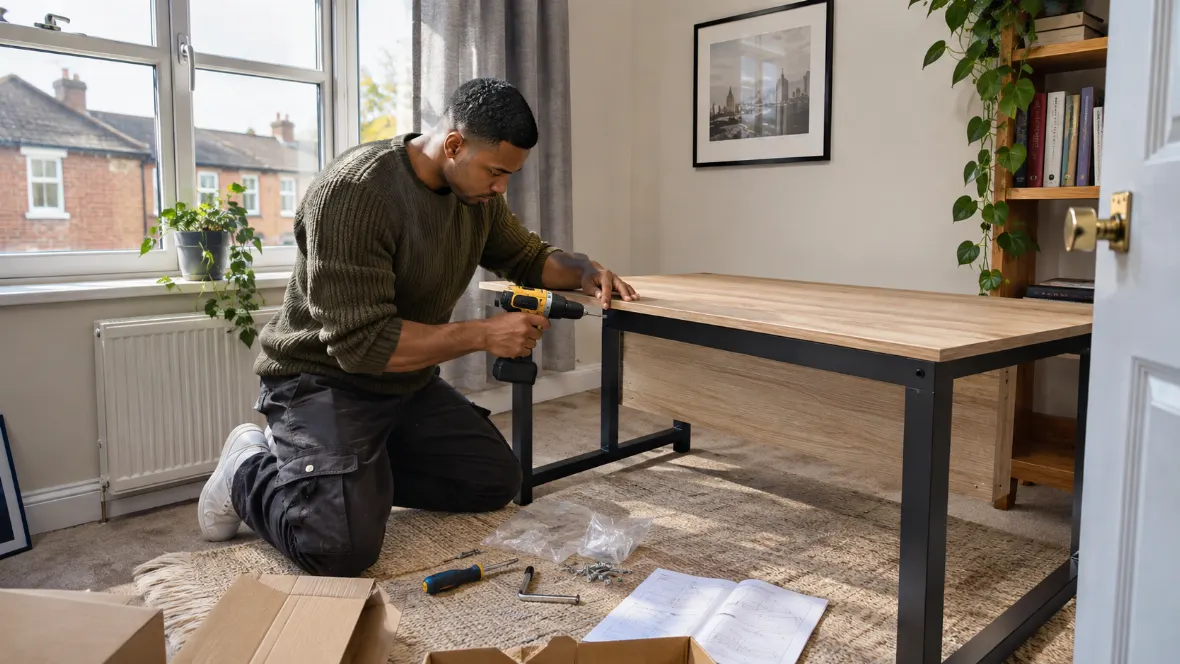
| Booking detail | Information to send |
|---|---|
| Layout | Planner drawing with the bays labelled |
| Order | Frame, door and accessory references and quantities |
| Room and access | Lowest ceiling height, intended wall, floor and longest carton route |
Make the inside work for the things you keep
Measure the space you need below each rail. A long coat or dress may need more clear height than the planner image suggests. Put shorter clothes in a separate bay if you want to make space below for drawers or shoes. Check whether a basket needs room above it to lift out. If the frame has fixed fittings, use those positions as a starting point before choosing shelf heights.
Open the wardrobe doors in your plan before setting the drawer positions. With a hinged door, the drawers need to clear the hinges and the edge of the door. With a sliding door, check how much of each bay remains open when a panel is at the end of the track. Send the frame, drawer and door references together when asking about a combination.
If more than one person uses the wardrobe, agree who needs each bay and which handles or shelves should sit within easy reach. A sketch marked left and right can save decisions during the visit. Leave a few examples of the things you want to store available for measurement, such as a box or a long coat. Keep the rest away from the floor where the frames will be assembled.
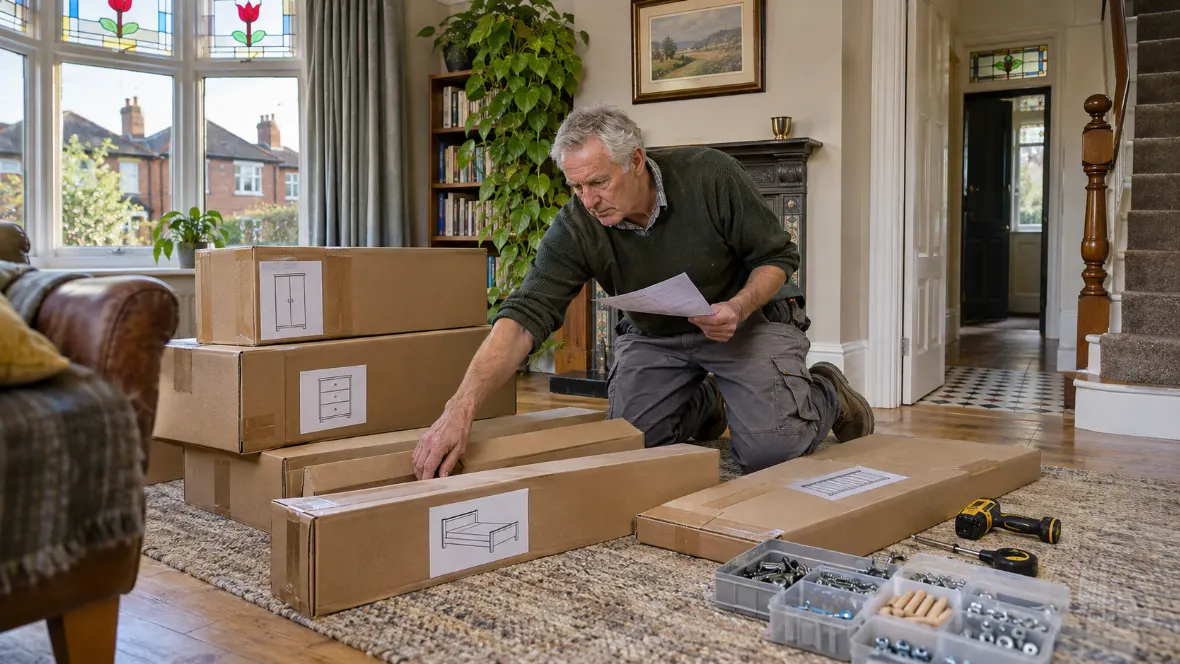
Check room dimensions, access and handover before filling the wardrobe
Measure the available wall width and the ceiling at the proposed position. A bay beside a chimney breast or wall return may be narrower near the floor because of skirting. If the ceiling slopes or the frame will be close to it, send the lowest height and the product instructions. The fitter may need additional room to build the frame and bring it upright.
Send the full IG2 postcode, floor and entrance details. Ask the retailer where the largest cartons will be left and compare their dimensions with the lift, staircase or hallway. If the building has a parking or access arrangement, explain it with the enquiry. Use local parking information and check the signs by your entrance for the intended day and time.
Check doors, drawers and any pull-out fittings with the fitter before putting clothes away. If the manufacturer requires a wall restraint, have permission in place and make the intended wall accessible. Keep the planner, instructions and spare fittings together after the work. If you later want to add a drawer or change a rail position, these records help identify compatible parts.
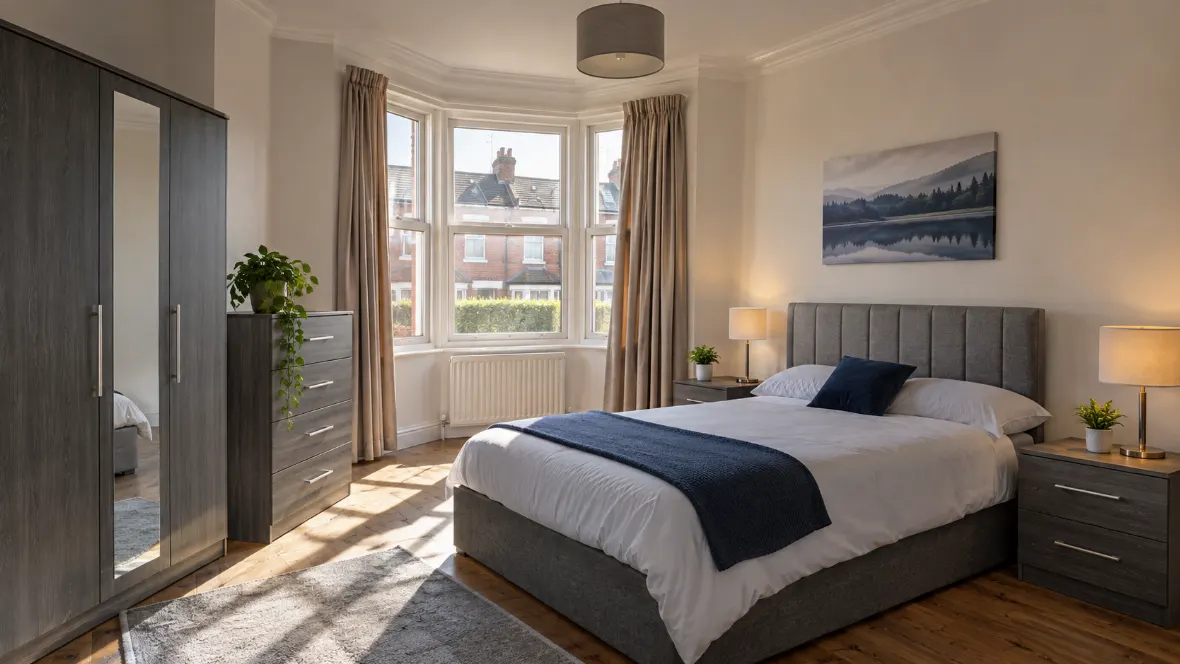
Prepare the wardrobe plan before the appointment
- Mark the left, middle and right bays in the drawing.
- Match the carton labels to the frame and fittings for each bay.
- Measure room height and confirm any permission to drill.
- Give us the full IG2 postcode, entrance and floor.
| Wardrobe section | What to check |
|---|---|
| Long hanging bay | Clear height beneath the rail and room above any shoe shelf |
| Drawer bay | Hinge or sliding door clearance when the drawer is fully open |
| Shelf bay | Depth and adjustable positions for the things you will store |
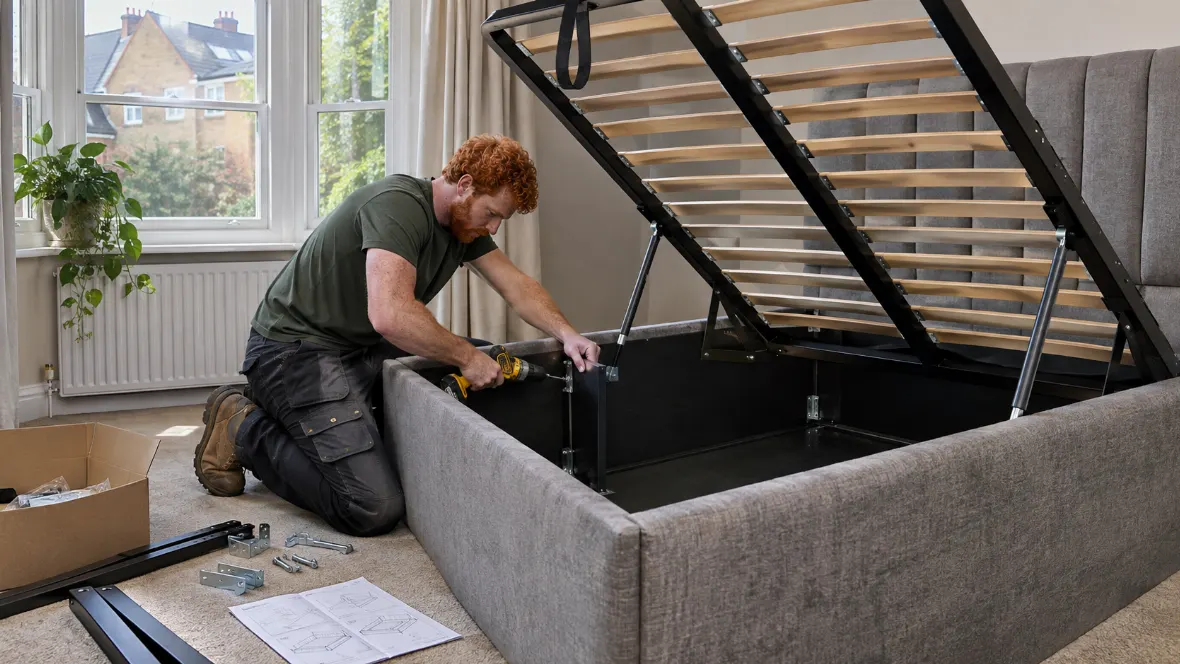
Before you book in Gants Hill
Can I choose different rail heights on each side?
Yes, where the frame and fittings allow it. Label each bay on the plan and give the fitter an example of the longest clothing you need to hang.
What if the planner shows a shelf I did not order?
Mark the difference and tell us whether you are ordering it separately. Keep the confirmed order handy so the fitter can check what is actually present.
Can I mix a shallow drawer with a deeper wardrobe frame?
Send the exact model of the frame and the drawer. The dimensions and support points need to match the combination approved by the manufacturer.
Do all wardrobe doors need to face the same way?
That depends on the frame and hinge layout. Share the model and the position of nearby walls or furniture so we can check which opening directions are available.
Request furniture assembly in Gants Hill
Send the postcode, item list and access notes. We can confirm availability and what the appointment would involve.
Photographs illustrate typical assembly work.